With the release of iOS 17 came a new fun feature to my trusty iPhone, StandBy Mode. When you turn your phone sideways, and it’s charging, you get a new horizontal display mode that you can set to be a variety of fun options. I was very intrigued by this for one particular reason… for the past 6 months we haven’t had a digital alarm clock in our bedroom after our previous one died (it was over 20 years old, RIP). I still sometimes like to see what time it is in the middle of the night if I wake up or use the bathroom, and I had defaulted to tapping my iPhone screen next to my bed and squinting at the bright display to see the clock. I did create a dimmed lock screen for when my phone is in Sleep Focus, but it still was a little awkward.
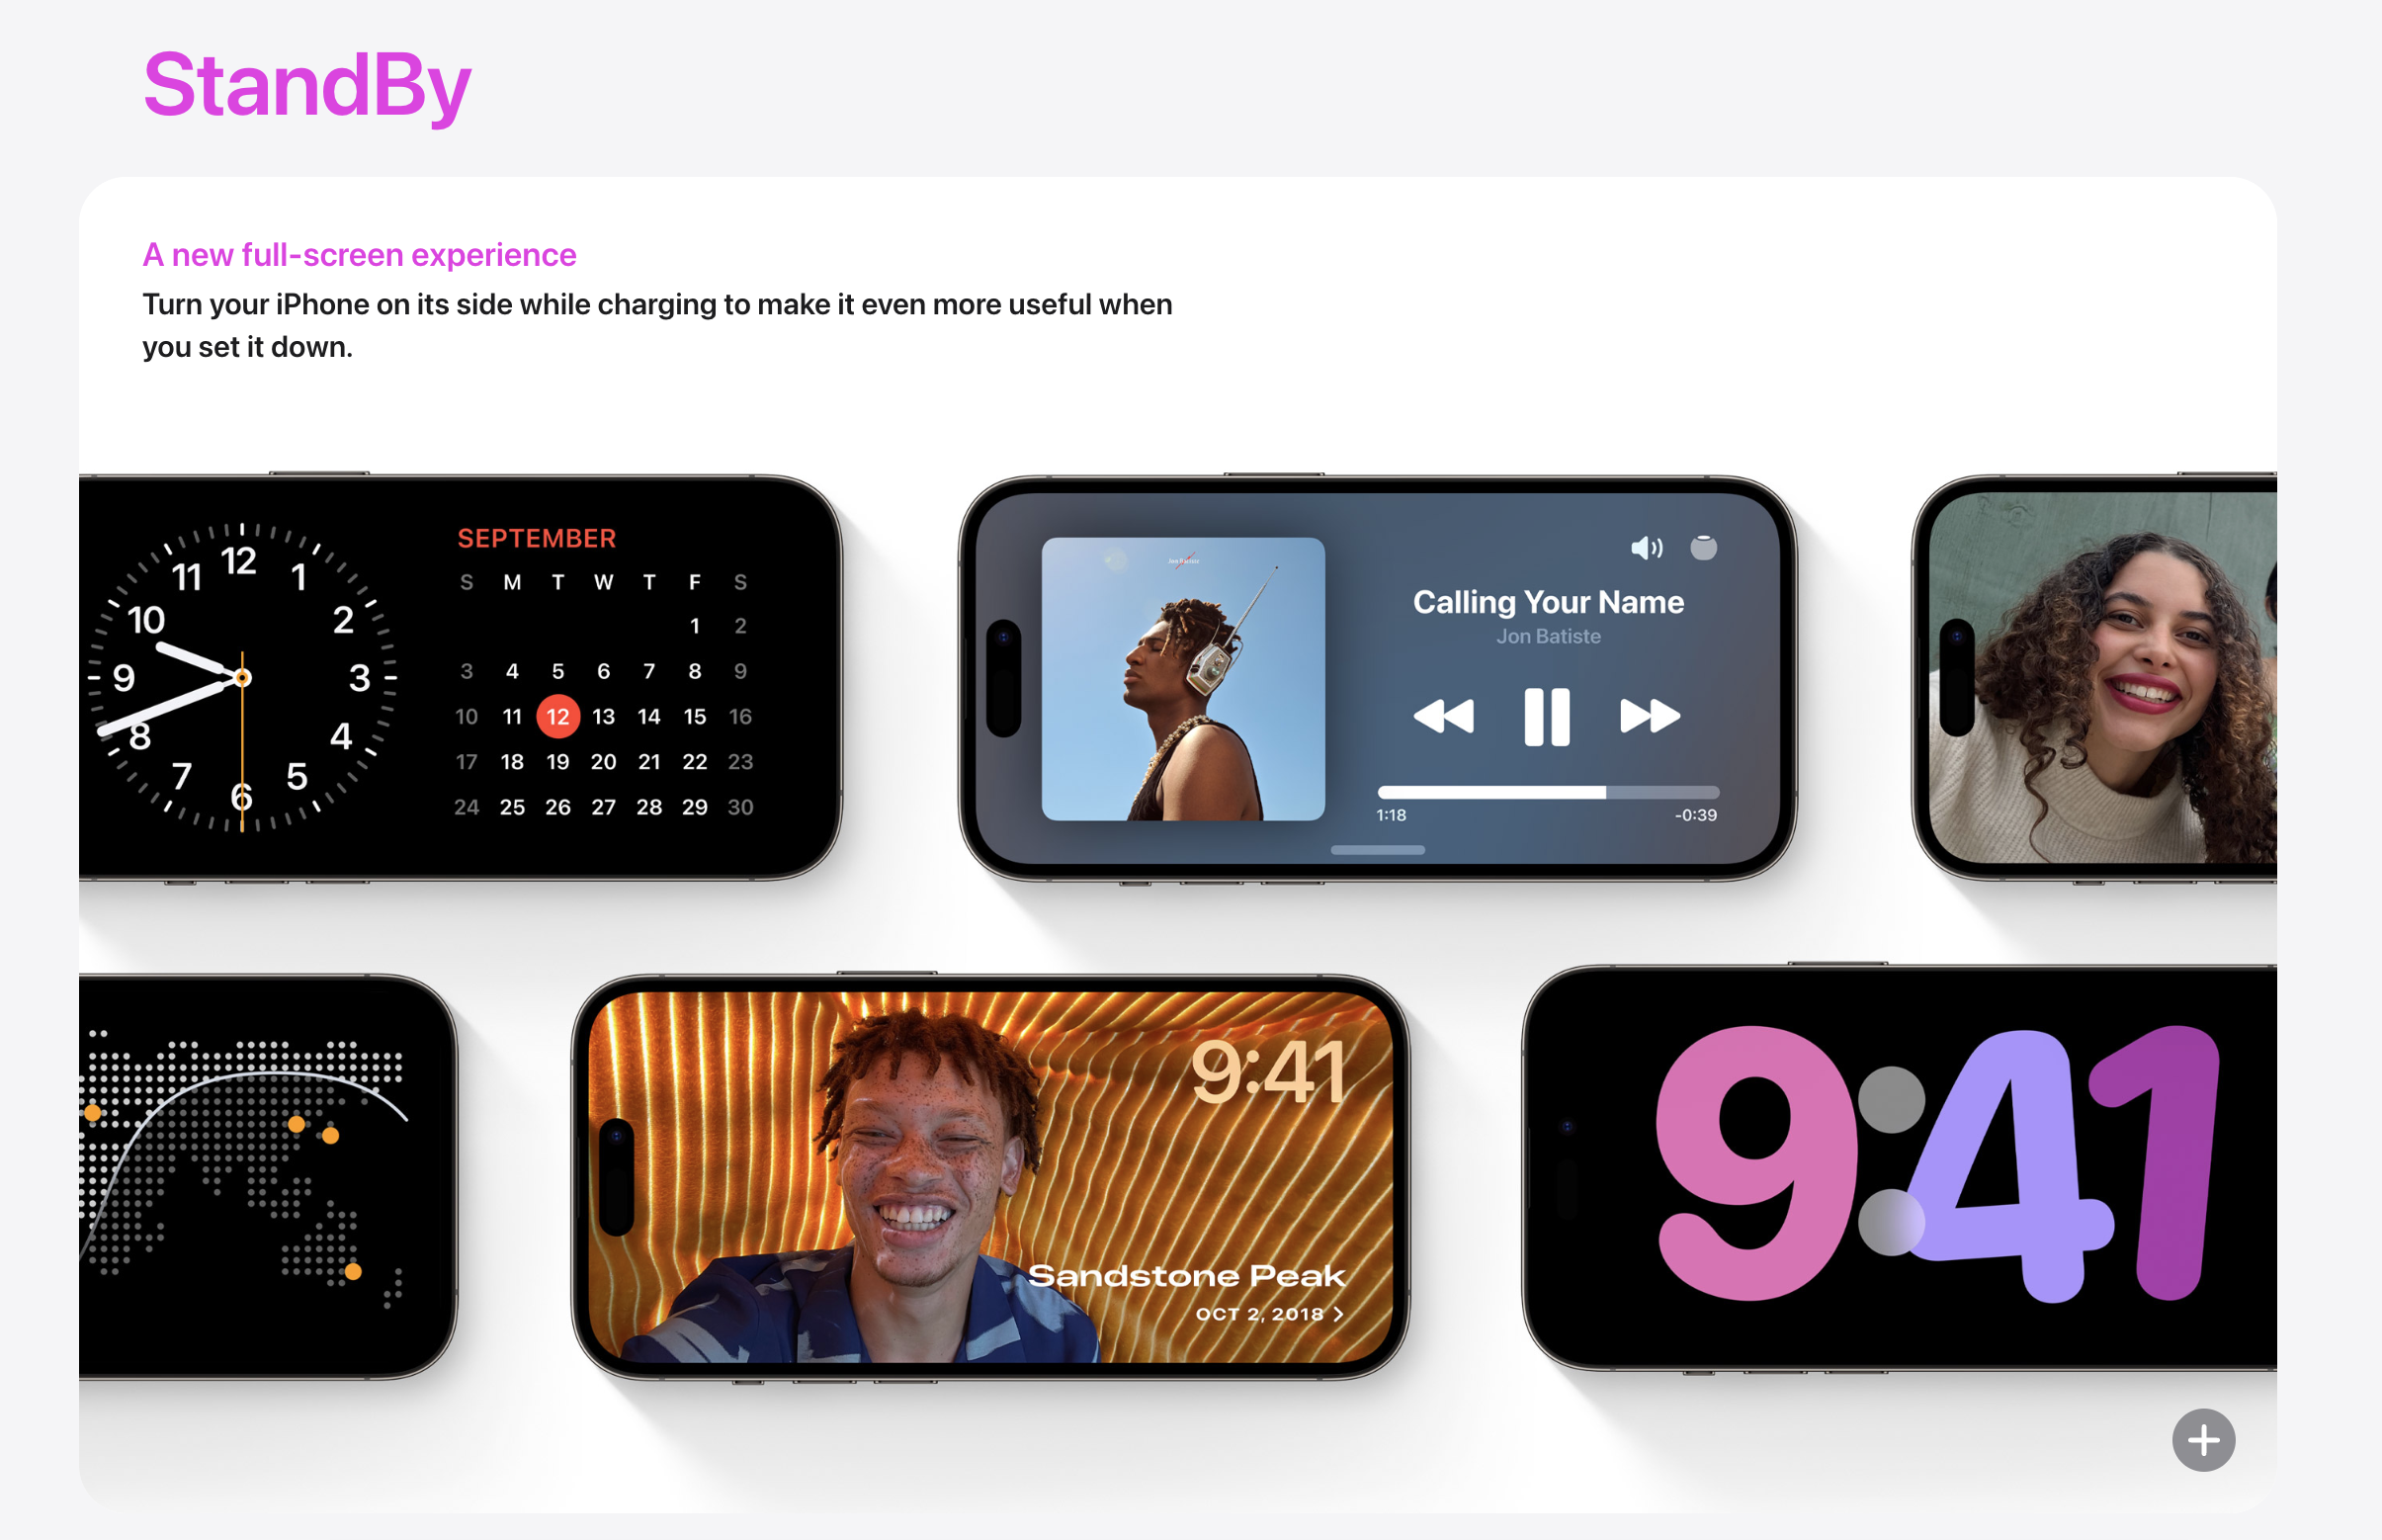
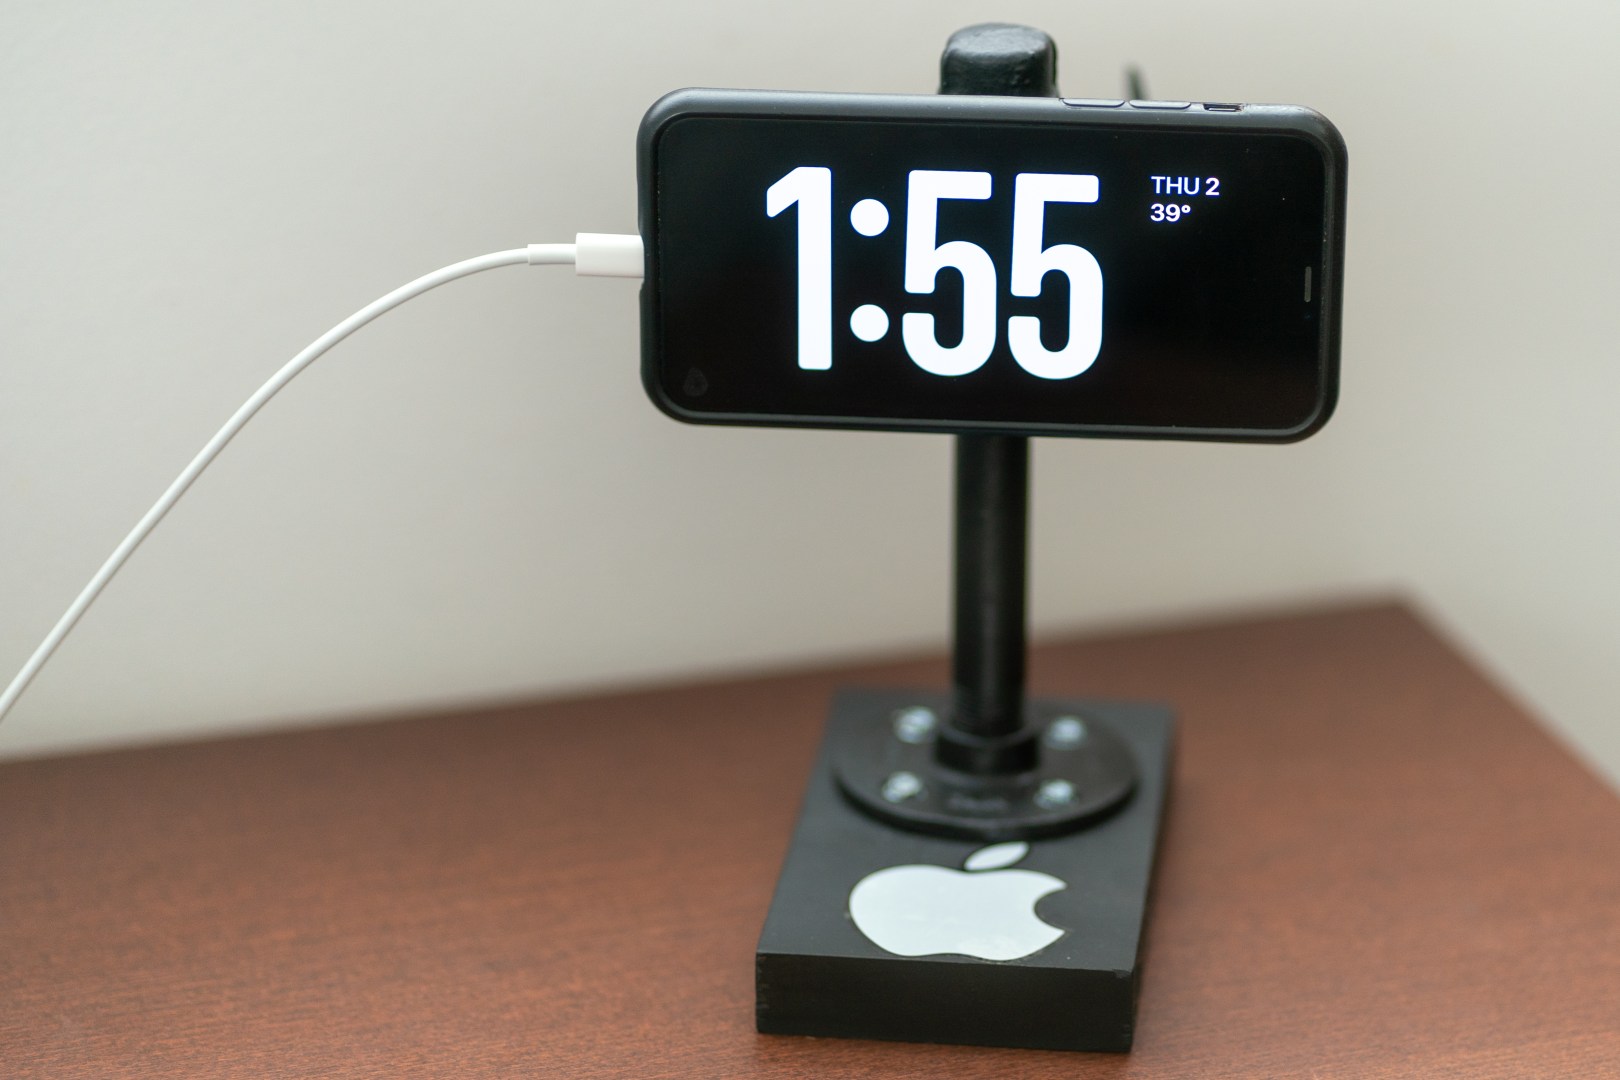
Then came StandBy Mode. When iOS 17 dropped I immediately tried it and fell in love with the clock options on it. I was able to make a nice big set of numbers, that auto-dim in darkness. It looks clean and simple, and the dimmed and red overnight text is subtle enough that it doesn’t brighten the room at all.
Once I got it configured I started trying to figure out how to mount my phone sideways next to my bed. I tried a couple of methods of propping it up, but since I have an iPhone 11 and need to gently tap the screen to get the clock to show, it invariably tipped over when checking it in the middle of the night. The primary option out there is to use a MagSafe stand that holds the phone up using magnets on the back, and charges it wirelessly. However, I keep my phone in an SP Connect case since I often am mounting my phone on my bike or on an SP Connect holder in my van. The SP Connect component gets in the way of the magnets and so I’m back to looking for options.
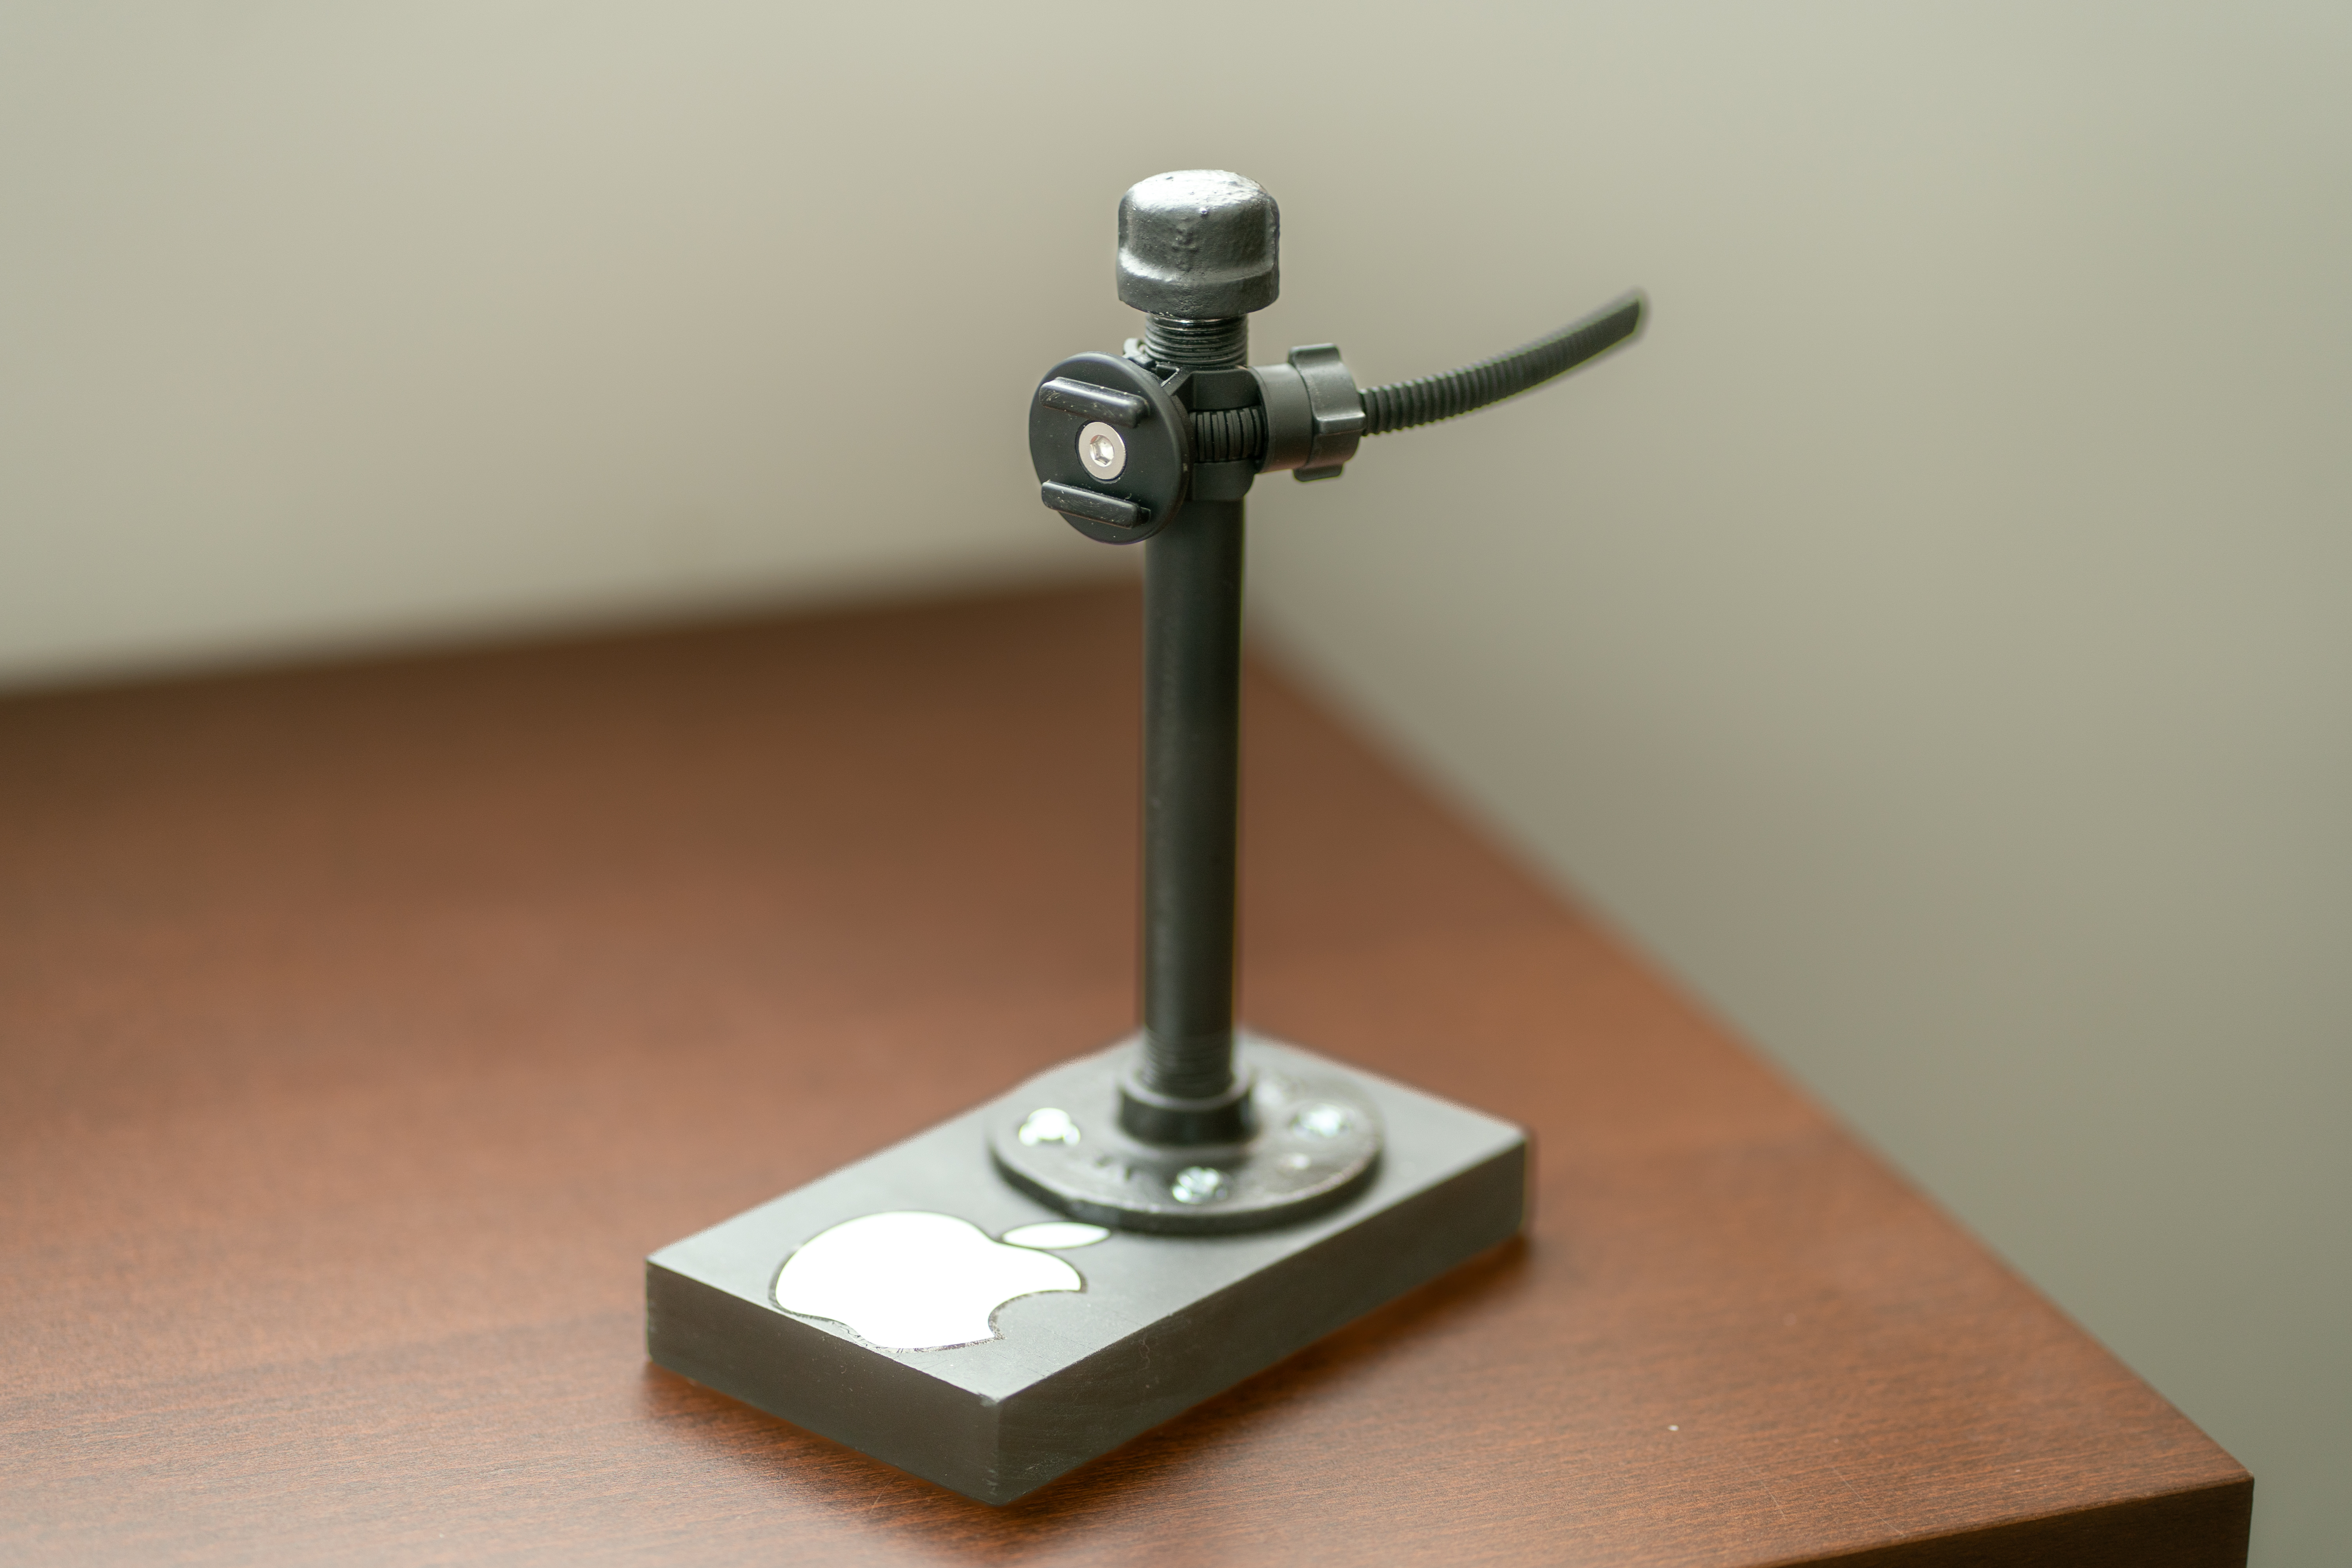
That’s when I decided to try just making a simple stand out of common materials from the hardware store. I had an extra SP Connect mount that I could use and a small piece of scrap wood formed the base. At the hardware store my parts list consisted of
- 1/2″ threaded pipe (needs to be at least 6″ long for the phone to rotate back to vertical)
- 1/2″ rounded cap
- 1/2″ floor flange
- Small wood screws to attach the flange to the wood base (length will vary depending on your base)
- Black spray paint
The spray paint was the most expensive portion of the whole build with everything else totaling only around $10. I considered going taller than 6″ on the main pipe, but ended up opting to keep it lower to the nightstand to avoid any light bleed to the rest of the room. If you’re trying to mount anything bigger than the standard iPhone 11 Pro you’ll want to increase this height to accommodate it.
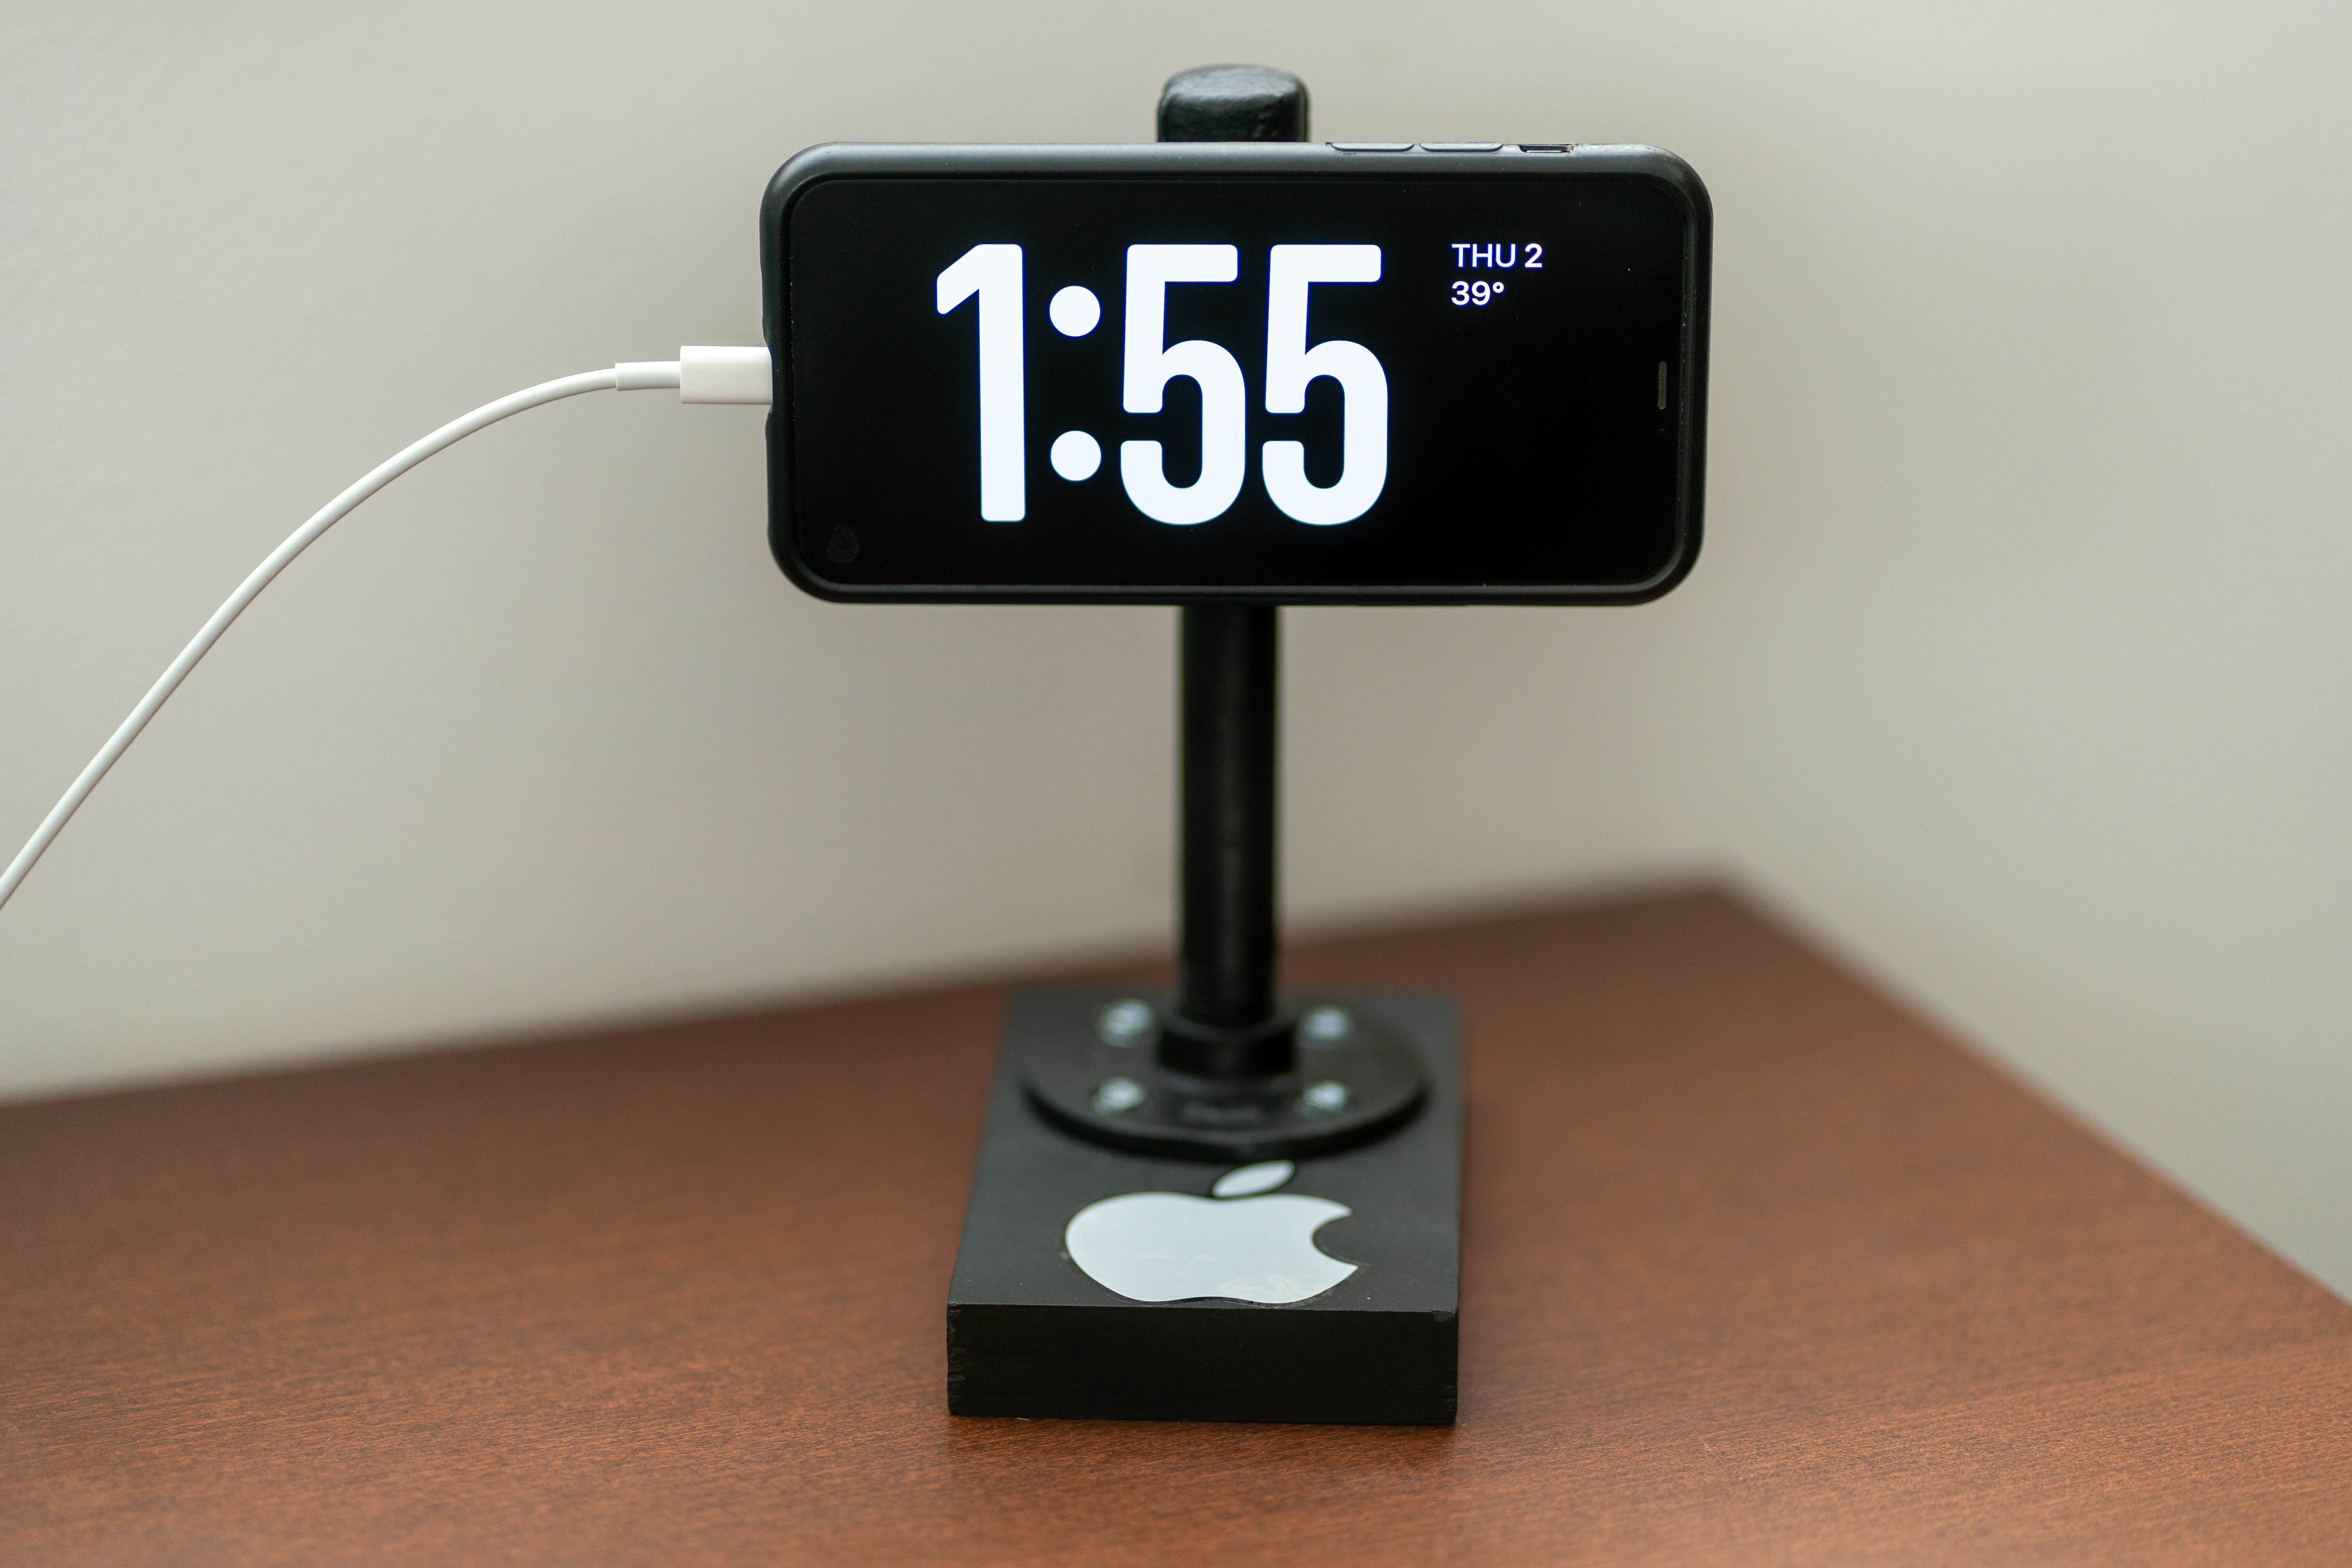
Once I had all the pieces it was time for assembly. It all went together smoothly, and things didn’t need to be tightened down very hard as this is only supporting a small phone. I then coated it in spray paint, added a sticker, and attached the SP Connect mount. After letting it dry overnight it came out better than I expected and now I’ve got the perfect bedside companion to replace my old alarm clock that served me so well for many years.
Since this DIY hack worked well for me I figured I’d share it. I’m sure folks could come up with even more creative designs as well. The beauty of simple galvanized and threaded pipe is that you can assemble it like LEGOs and put together something that will fit with whatever arrangement you need. Plus, it’s fun to make something simple that ends up being so uniquely functional.
